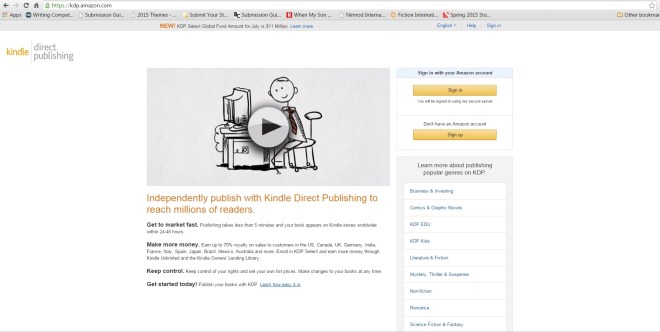
- This is Kindle Direct Publishing. Sign in with your Amazon username and password at https://kdp.amazon.com/.
A few years ago, ebooks were uploaded to Kindle through CreateSpace. These days, however, the two platforms are different interfaces. CreateSpace is usually used to create print copies of books while Kindle Direct Publishing is how your book is uploaded in ebook form.
When you upload through CreateSpace, you will be given the option to turn your print file into an ebook version, but you are routed to this website to upload. It is important to note that the formatting for an ebook is slightly different than the formatting for a print version of your work.
And if you are ready to upload, this means that you have been through beta reading, content editing, line editing, copy editing, and multiple proofreading passes.
Before I am ready to upload, I pay a formatter since I love all the snazzy designs and artistic interpretations I get from Inkstain Interiors (http://www.inkstainformatting.com/). Nadège Richards rocks.
However, many authors learn to format their own work for both print and ebook versions.
Also, if you choose to go live on both platforms (CreateSpace and KDP), Amazon will link the ebook and the print version. If they miss it, you can contact Amazon through your Author Central page and ask for the two versions to be linked so that when a potential reader finds your title, both the ebook and the print form are offered under formats and editions.
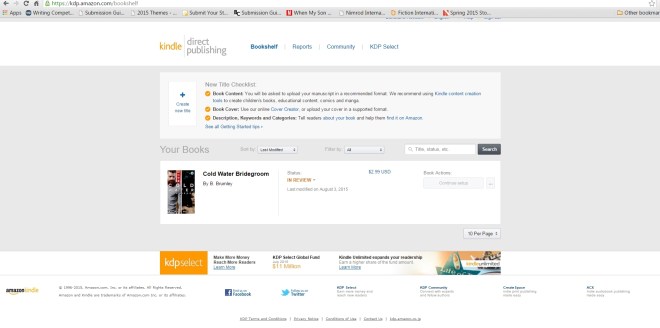
- This is your KDP (Kindle Direct Publishing) Bookshelf.
After you sign in with your Amazon information, you should see this screen. If this is your first time to upload to Kindle Direct Publishing, your screen will be blank below the words Your Books.
Click on the rectangle that reads Create New Title.

- Enter Book Details.
By this point, you’ve probably come up with a snazzy title. Enter that under Book Name.
A subtitle is not required. I pretty much ignore edition numbers as I just revisit this page to re-upload the document if I need to make corrections or edits, but you can assign editions and numbers and subtitles until you’re satisfied.

Under Description, I copy and paste the backcover blurb that I usually spend days weeping and gnashing my teeth over. Many authors feel that it is easier to write a whole novel rather than boil it down to a reader-tempting blurb, so, trust me, you’re not alone in your heartache.
Click on Add Contributor and list yourself. You can use a pen name or however you would like your name to appear in the title information. There’s a drop down menu to the right. Select Author. You can also add others to this list and assign them varying titles. I am unaware of a limit to contributors, but I have not participated in a great number of anthologies.
Verify your Publishing rights. If this work has been drafted through your own blood, sweat, and tears, please click on the second option. You’re creative. This better be your own work. Don’t plaigerise. It’s illegal. Mmm-kay, pumpkin?
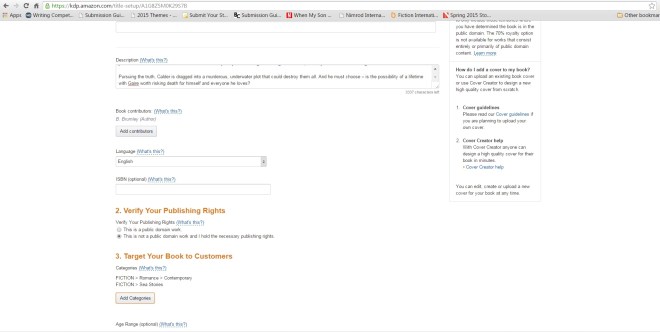
Target Your Book to Customers. Click on Add Catagories. You are only allowed to select two, but don’t worry too much over this. You can sign back into KDP and adjust these as often as you like. When you do, your title will not be removed from the Kindle Store, but it can take up to 24 hours for any changes or updates to take effect. You can select Age Range and U.S. Grade Range, but if it’s a New Adult title or an Adult title, I just select 18+. Be sure to pick keywords that apply to your work, but choose keywords that are not words that are listed in your title or description. Separate these keywords or phrases by commas.

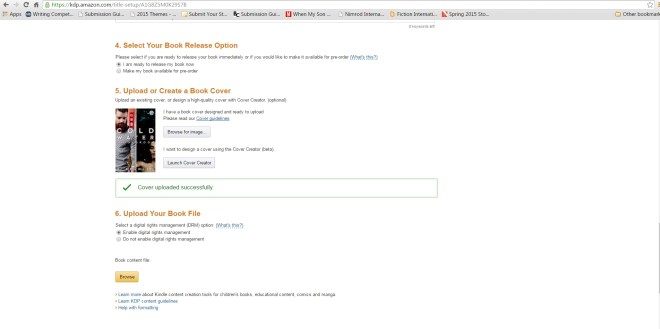
Select Your Book Release Options. If you want to make your book available for pre-order, Kindle requires at least eight days BEFORE your planned release date. If you are like me and always late to the party, you’re probably just hours before your deadline. In that case, choose the first option. If you haven’t been living fast and loose with your impending deadline or you’re trying to create some momentum, pick the second option and choose a date at least eight days after the date that you are uploading.
If you create a pre-order, all the pre-order sales will apply to your ranking on your selected release day. Many authors finish a book, upload it and select a date 60-90 days from the date they uploaded. They spend this time letting their friends, book reviewers, and hype-makers (such as PR firms) know about their new release. Again, all pre-order sales apply to your book’s ranking on the day of release. This means that if you do a smashing job of momentum building, your book will climb the rankings and possibly receive more exposure from Amazon.
Upload or Create Book Cover. Again, I hire this out. I am not a graphic designer, and I am definitely not a book cover artist. Click on Browse for Image. You can select the eye-catching book cover your graphic artist made for you. You can also Launch Cover Creator. I don’t have much information about the second option as most successful authors that I know usually pay graphic artists that manipulate the selected stock images. (Or, even better, those authors hire a photographer / graphic designer for a unique-to-their-book photo shoot with images that will never be used again.)
Upload Your Book File. That yellow button is where your interior document is uploaded. Make sure you select the correct file. There is nothing more embarassing than realizing all those pre-sales orders received your first draft on release day. For good measure, on my next one, I plan on naming the file “PICK-THIS-ONE-YOU-IDIOT” so there’s less chance of getting caught without my edits.
On the DRM (Digital Rights Management), I always choose “Do not enable digital rights management.” I may change my mind later on in the self-pub portion of my career, but you choose what you think is best for your work. You can also read up a little on this if you hover over that “What’s This?” option.
After all this, click that yellow button that reads, Save and Continue. If you’ve missed anything, KDP will let you know.
- Rights and Pricing.
I select Worldwide rights – all territories. Some only wish to have their work available in the USA or the UK – author’s preference.
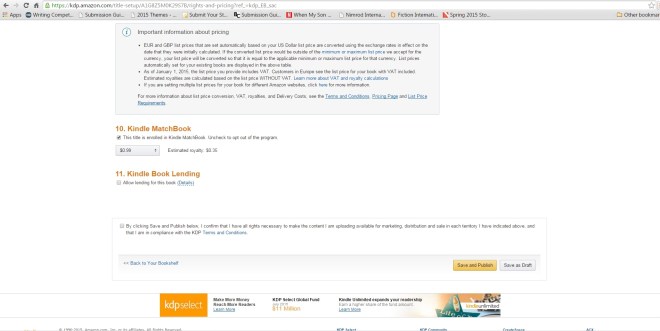
Set your price. It’s important to note that a book must be at least $2.99 in order to select the 70% royalty option. At $0.99, you receive the 35% royalty option. You can select $0.99 initially and raise the price later by signing into KDP and changing the price in this section of your book’s information.
As a side note, I don’t know what that KDP pricing support is. I’ve never clicked on the button that reads View Service.

I don’t select Kindle Match Book, but it’s an option that allows a reader to purchase the ebook version for a lesser price after purchasing the print version. You can also select Kindle Book Lending so readers can loan your book to others. These options are author’s choice and can also be added at a later date.
See that box? Check that little square and then click that big, beautiful, bright, yellow button that reads….
Save and Publish.
- If you see this screen, your book is being uploaded.
You may click on Back to Your Bookshelf.
Congratulations!

- Your Bookshelf.
You should now be able to see your title listed under Your Books. And you will receive an email notification when your title is available for purchase in the Kindle store.
***As of 11/19/2015, this is what the KDP upload process looks like. If I become aware of any changes, I will attempt to adjust this How To accordingly. Thank you. 🙂
Screenshots taken while uploading


 hat authors do you like to read? Favorite saying about writing?

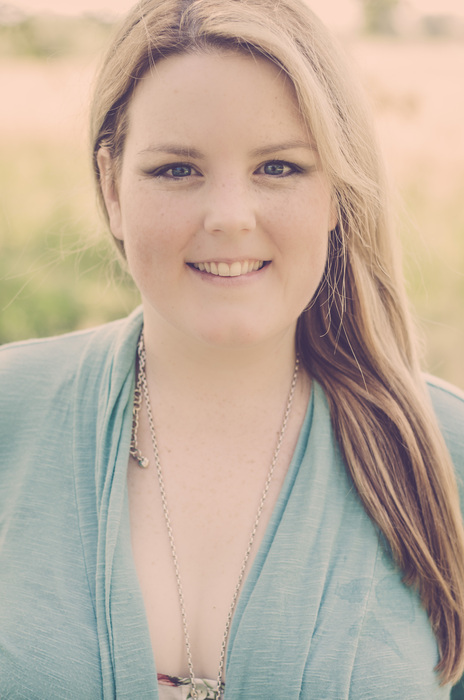
 About the author: Melanie Karsak is the author of the Amazon best-selling The Airship Racing Chronicles, The Harvesting Series, and The Saga of Lady Macbeth. She grew up in rural northwestern Pennsylvania and earned a Master’s degree in English from Gannon University. A steampunk connoisseur, white elephant collector, and zombie whisperer, the author currently lives in Florida with her husband and two children. She is an Instructor of English at Eastern Florida State College.